Litmus Builder is a powerful custom email builder for HTML emails. We’ve broken down how to use Builder before in earlier editions of our Litmus Builder Essentials series (parts one, two, and three). Today, we’re going to show you how to put those features to use when creating your own HTML templates.
As we saw in Part 1, you can use any number of pre-built and pre-tested HTML templates for your own campaigns. Each serves as a good foundation, allowing you to save time and focus on what’s important: content. Templates also allow marketers or designers who don’t code to build a great email campaign themselves.
However, if you’re looking for more flexibility and customization in your email design, making your own template from scratch is the way to go.
When you’re in Builder, click either the Start building button near the top left or Create new button on the right side, give your project a title, select Build, then click the Next button. From the Build a new email screen, select the first option: Blank email. Builder will create a new email project and drop you into the Builder interface.
Here are the Litmus Builder features that make creating your own template a whole lot easier:
- CSS inlining
- Snippets and partials
- Gridlines
- Email Previews
- Sharing
Use CSS inlining
CSS inliner gives you the ability to separate your HTML and CSS into different tabs in the interface. This ensures that your code is as clean and readable as possible, allowing you to quickly navigate and update your template’s code. It’s perfect for developers who need to hand off to less technical team members, too.
To enable CSS inlining, click the gear icon on the left-hand side of your Builder screen and toggle the option called Inline CSS. You can switch between the HTML and CSS editor using the options in the editor toolbar.
Builder’s CSS inliner is designed to truly understand email. For example, it doesn’t strip any Outlook conditional comments or pseudo selectors, and it preserves character entities and has a lot of tools that allow you to improve your workflow.
When you’re ready to move your template out of Litmus Builder and into your own email service provider (ESP), click the Export button. From here, you can sync your email to your ESP, copy the compiled HTML, or download the compiled HTML. It’s that easy!
Take advantage of snippets and partials
Litmus Builder has two tools designed specifically to make building and using templates faster and easier: snippets and partials. Let’s take a closer look at how they can help you build better templates.
Snippets
Snippets allow you to save and reuse bits of code across all of your Builder projects. You can access your snippets using the Insert button.
If you haven’t used snippets before, you’ll see an empty library. Luckily, creating a new snippet is easy to do!
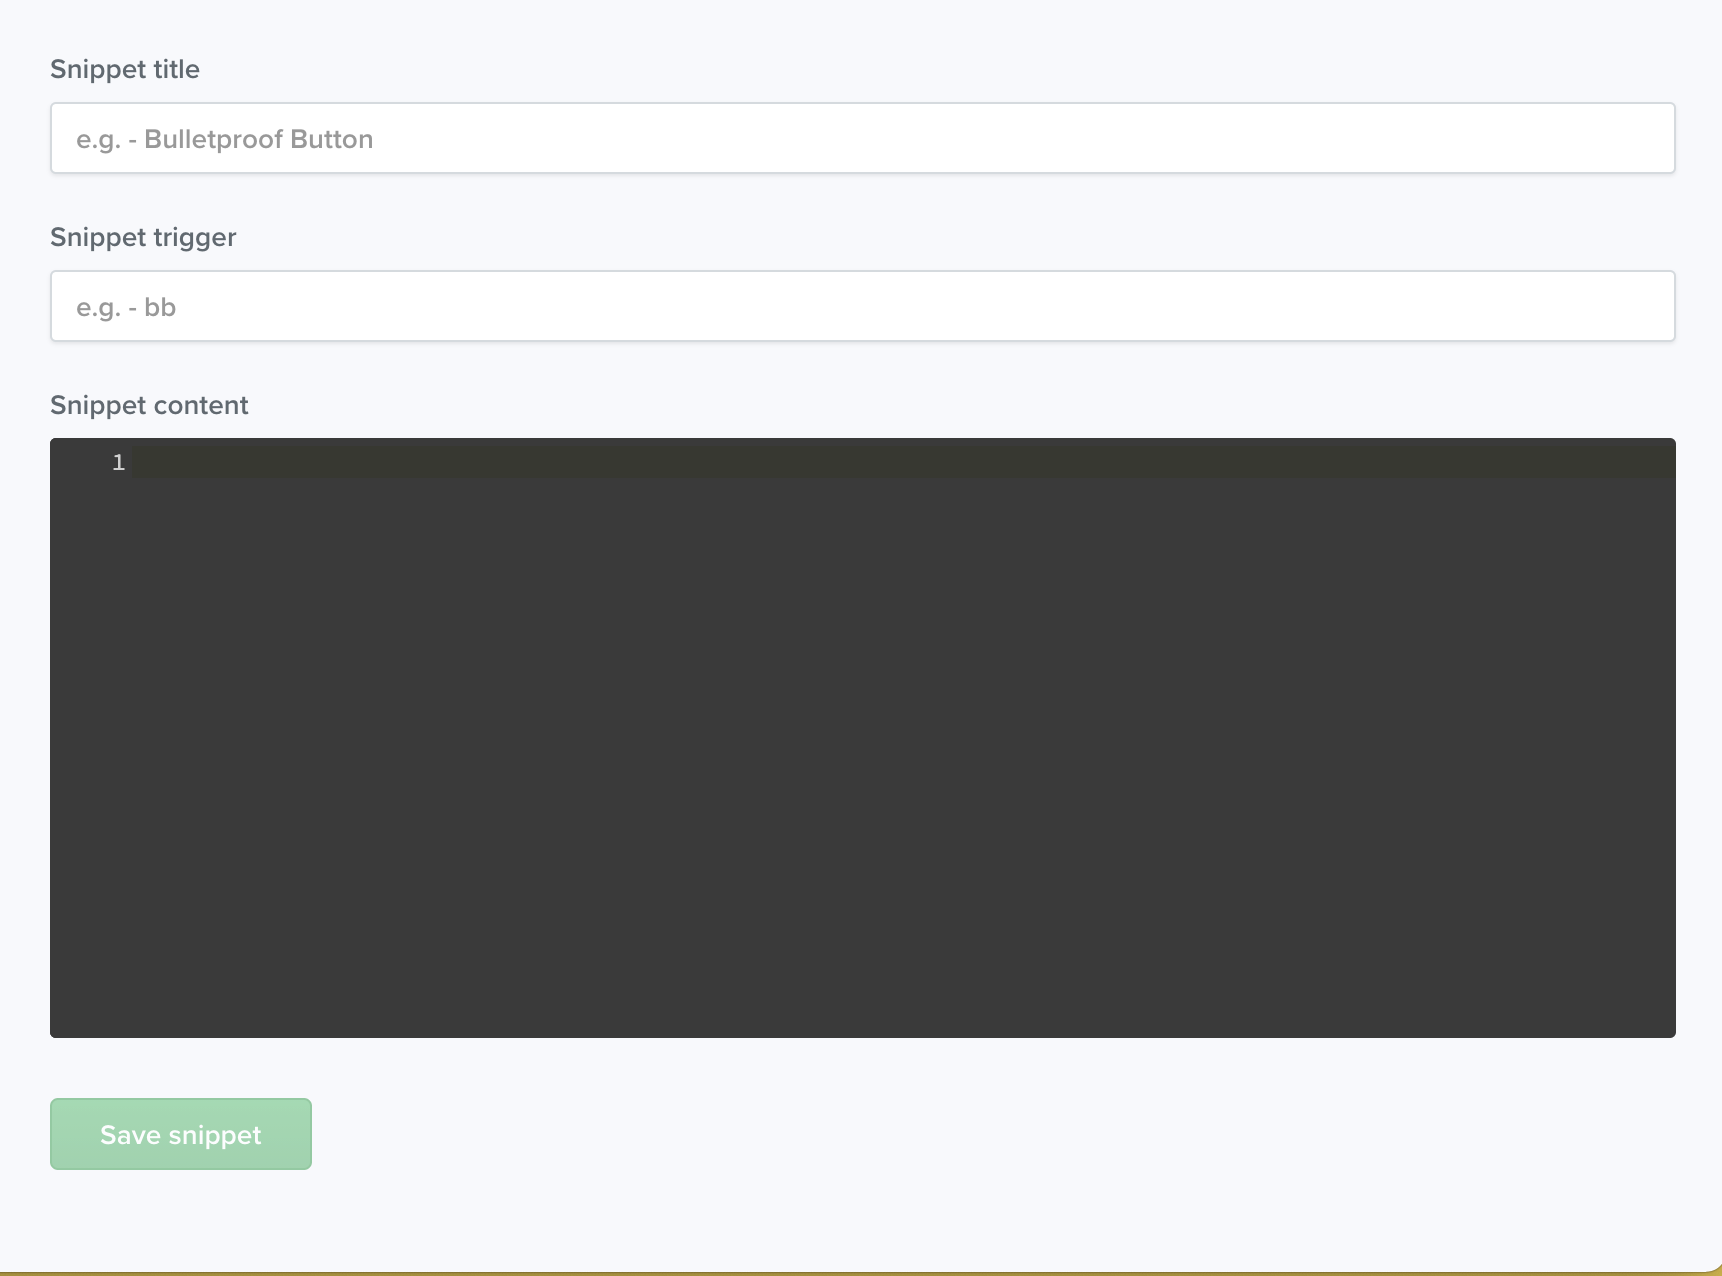
Within the Snippets library, click Manage snippets. From here, you’ll select New Snippet. A new screen will pop up, where you can name your snippet, create a snippet trigger for inserting that snippet, and write or paste the HTML and/or CSS you want to include in the snippet.
The key to effectively using snippets is to create them for commonly used components in an email and to rely on snippet triggers to insert them.
For example, most email campaigns rely on preview text to encourage subscribers to open an email. Instead of hand-typing a new preview text component for every email you create, you can save that component as a snippet and trigger it directly in Builder’s editor. In this case, we can include code in the new snippet, give it a name, and set its trigger to something like pvt.
Now, whenever you need to call that snippet in the editor, just type pvt, immediately followed by the tab button, and Builder will insert the code into your template.
You can even include edit/jump points in your snippet by wrapping text in curly braces. Snippets that have edit/jump points will automatically position your cursor at that point when you insert snippets, allowing you to quickly edit the content of the snippet.
Not sure which snippets to include in your own library? Check out our Ultimate Guide to Using Snippets in Email Design for inspiration.
Partials
Similar to snippets, partials allow you to collect code components for use across Builder projects. The main difference between snippets and partials is that snippets end up hard-coded into your template, whereas Builder pulls partials into your template whenever you preview, compile, or download your template.
Partials can be accessed by clicking Insert, then Partials.
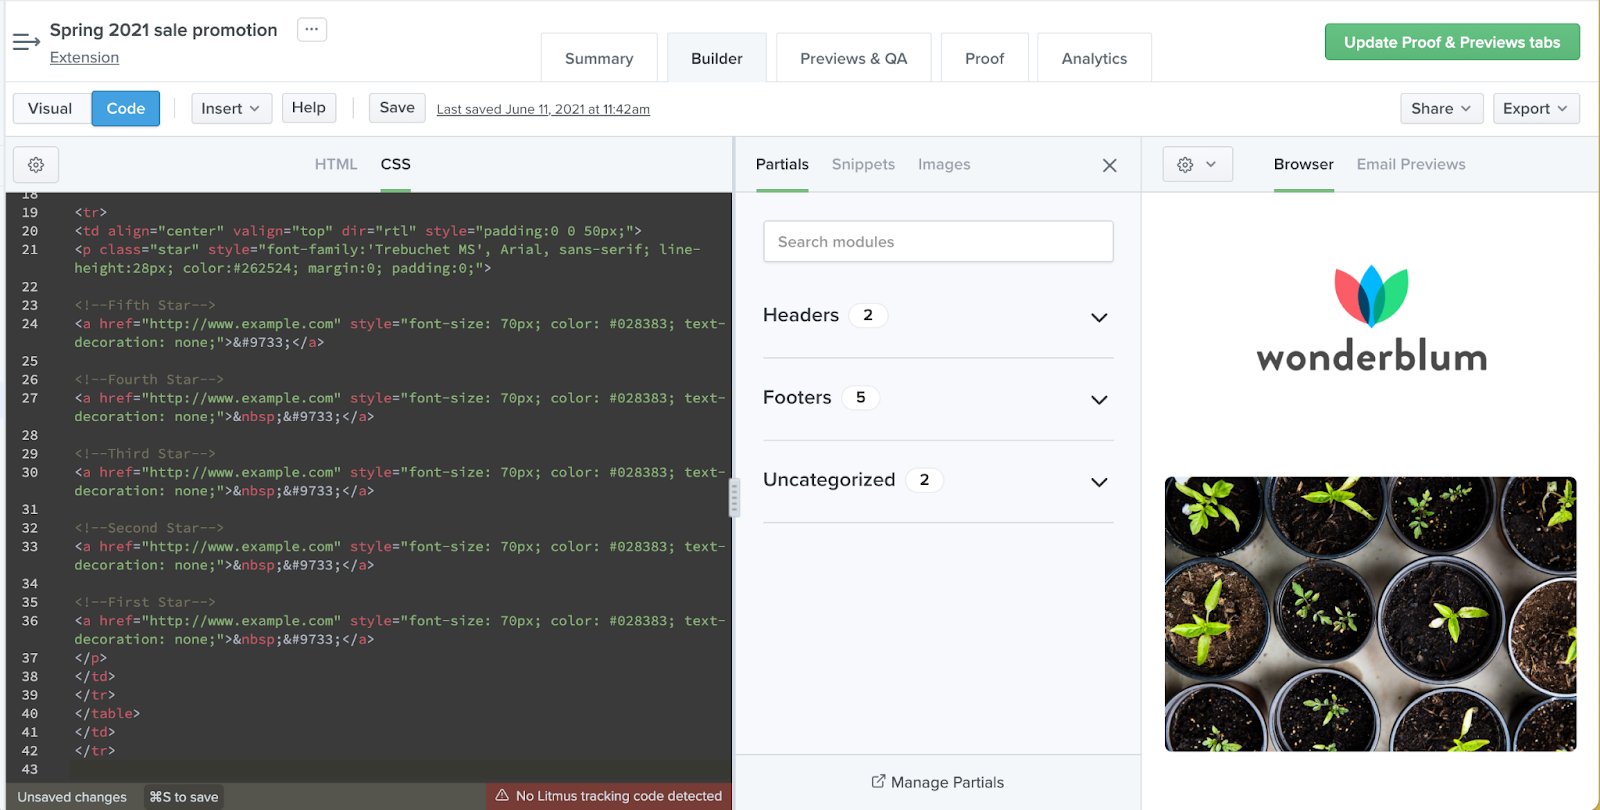
To create a new partial, click Manage Partials. Builder will open your partials in a new window. From here, select New Partial to create a new partial. Each partial is identified by the title of the document and can be included in your own templates by wrapping the title of the partial in double curly braces. For example, if we have a partial named header, we can call that in a Builder document by typing {{header}}. The code editor only displays that short block of text while the partial is dynamically pulled into your email.
You may be wondering, “Why would you use partials instead of snippets?” That’s a great question.
While snippets are super handy, partials’ killer feature is they’re added to your templates dynamically. Since the code isn’t actually added to the editor until you compile, preview, download, or share your template, you can update the partial in one place and have those changes trickle down to all of the templates which use that partial.
Think about an email footer. Often, companies need to update the information in the footer of multiple emails whenever their legal department makes a change. Instead of having to manually update dozens of emails individually, you can update a single {{footer}} partial that’s pulled into all of those emails instead. Updating that partial automatically updates all of the templates, saving you a good amount of time.
This can be extremely helpful for designers and developers who are part of a larger team. They can control the partials while giving marketers access to the templates that contain an email’s content. Marketers can update that content, while keeping elements like headers and footers untouched—reducing errors and ensuring better emails for subscribers.
Use gridlines for quick navigation
While CSS inlining, snippets, and partials can help speed up development and make navigating code easier, most emails still contain a lot of code that can be difficult to read through. Instead of scrolling through hundreds of lines of code to find that one section that needs editing, Builder’s gridlines allow you to quickly find and select elements of an email to focus on.
To enable gridlines, press the gear icon in the previews toolbar, then click Toggle Gridlines. The gridlines will overlay blue boxes on your email in the preview pane, highlighting each individual element in your email template. With gridlines enabled, simply select any element, and the code editor will automatically navigate to that block of code, so you can make any updates necessary.
Preview in 100+ email clients
Once you start building your templates in Litmus Builder, the next step is to ensure your templates render properly in all necessary email clients. Litmus Email Previews makes this fast and easy. In the email builder preview pane, toggle between the default Browser preview and Email Previews. Selecting Email Previews kicks off a series of tests that give you the ability to see how your template looks in 100+ email clients.
If you know your audience only opens your campaigns in specific email clients, you can select which clients you want to test in by clicking the Choose clients button in the Email Previews view. This will open a list of all available clients you can toggle on and off. Not sure which email clients your subscribers are using? Try Litmus Email Analytics to get an in-depth look at your subscribers’ behavior.
Share templates with your team
The last step to develop templates in Litmus Builder is sharing those templates with team members and stakeholders.
Instead of copying your code and images to your ESP, setting up a test list, and manually sending a campaign to that list, Litmus Builder has an entire share panel devoted to getting feedback on your campaigns.
Within the share panel, you have options to Publish, Email, and Embed your template. If you publish your email, you can choose to share just the Email Previews in your selected clients or both the HTML and Email Previews together.
This way, you can choose what you’re sharing with each stakeholder. If you just need a stakeholder to sign off on the design, share the Previews only so they’re not confused by the HTML. Sending a template to another developer for review or troubleshooting? Share both the HTML and Previews.
The Email option allows you to quickly send a test email straight to your inbox without the need to upload to your ESP.
If you’d like to share your template on your blog or on the Litmus Community, use the Embed feature to embed a live preview of your template on any website. People can even open up the code and start editing in their own Builder account, allowing team members to quickly riff on ideas without affecting your own template. Builder Previews expire 60 days after creation.
Get started with Builder today
Now that you know how to create templates, snippets, and partials in Builder, why not take it for a spin? It’s one of the most powerful ways to speed up your workflow, all while ensuring the highest quality standards in your own campaigns.
Already a Litmus customer? Jump right in. Otherwise, book a demo to see how Builder can improve your development process today.
Litmus Builder is more than just building emails Quickly build and QA test on the email clients that matter most to your audience, and take advantage of reusable email modules and templates to reduce errors and maintain brand consistency. |
Learn more in our Litmus Builder Essentials series
- Litmus Builder Essentials, Part 1: Get to Know Our Email Builder
- Litmus Builder Essentials, Part 2: Create in Our Email Builder
- Litmus Builder Essentials, Part 3: How Teams Can Use Our Email Builder
- You are here: Litmus Builder Essentials, Part 4: Best Practices for Creating HTML Email Templates in Builder
The info in this blog is 2+ years old and may not be updated. See something off? Let us know at hello@litmus.com.

Shannon Howard is the Director of Customer and Content Marketing at Intellum.
